A ready-to-print model of this molecule on a display base: rotate it, zoom in and see how it looks straight off the printer and after removing the supports.
Print it yourself — free
100 × 100 × 90 mmPLA, 0.4 mm nozzle, 0.2 mm layersabout 83–84 g of filament8 h 10 min – 11 h 24 min of printing (depends on the printer)Free for non-commercial use, CC BY-NC-SA 4.0 licenceNot yet printed physically — yours could be the first
- Licence CC BY-NC-SA 4.0: you may print, share and adapt the print model (with base) for non-commercial purposes — at home, school, university or a makerspace — with attribution. CC BY-NC-SA 4.0
- Commercial use — selling prints and paid printing services — only with our licence: [email protected].
- The molecule alone (NORMAL and ENGRAVED files) stays under CC BY-SA 4.0.
1. Download a file
Not sure what to pick? Prusa MK4, MINI or Ender-3 S1 — take its G-code. Any other printer — the 3MF project (PrusaSlicer) or the STL (other slicers). Printing at a makerspace or print shop — hand over the ZIP package and the PDF data sheet.
Ready G-code for your printer — each file only for the printer it names. Load it and print:
Another printer? Download the 3MF project with all settings and open it in PrusaSlicer — or import the model into your own slicer.
2. Print as supplied
Base flat on the bed, no rotating and no rescaling — the file is in millimetres. Keep your slicer’s automatic supports switched on.
In your own slicer: organic (tree) supports with “on build plate only” switched OFF — every tree starts on the base (Cura: Support Placement = Everywhere). After choosing your printer, press A (Arrange) so the model sits in the middle of the bed.
3. Finish the model
Remove only the orange slicer supports. Keep all 13 yellow pencils — they are part of the model and hold the molecule up. Cut the supports with flush cutters, from the top down; do not pull or twist. The model prints in one colour — the colours exist only in the preview and in the picture below.
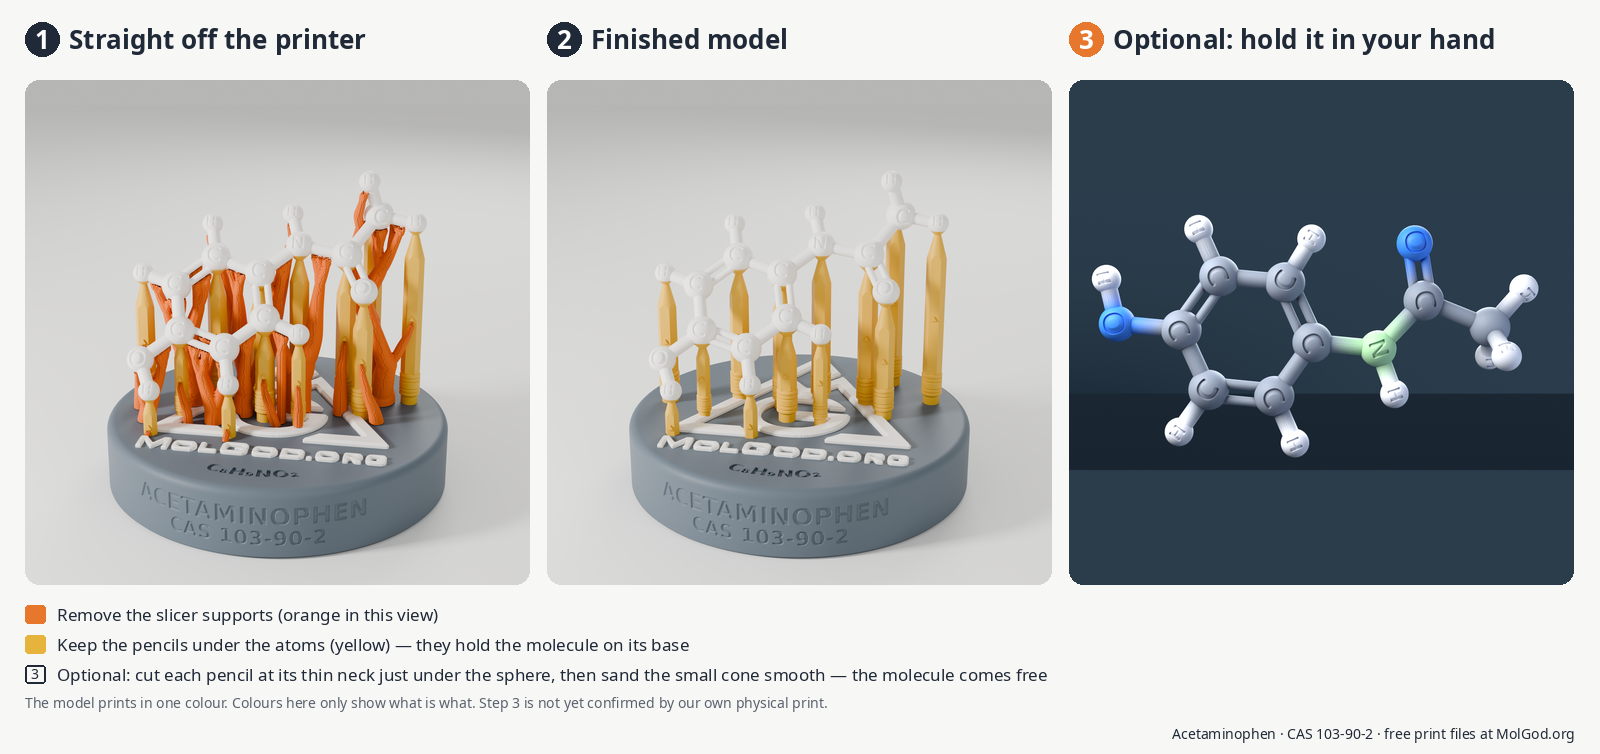
Panel 3 is a render, not a photo of a print — the model prints in a single colour.
Optional: want to turn the molecule in your hand? As the last step, cut each yellow pencil at its thin neck just under the sphere (about 2 mm) and sand off the small cone left on the sphere. Go slowly — the bonds are about 2 mm thick. We have not yet confirmed this step with our own print.
4. Show us your print
Send us photos of your print — with the supports and after removing them — to pure@molgod.org.
These 4 photos help us most: the whole model with supports, the finished model after removing them, a close-up of the thinnest bonds and a close-up of the letters on the spheres. Feedback is welcome, but it is not a condition for downloading or using the model.
3D printing is all about the details. If something did not come out right, send us the photos: we will help and improve the model based on your feedback. Teacher? Join Wave 1 of the pilot →
No 3D printer?
Ask at your school makerspace, a library with a 3D printer, or a local 3D printing service. Give them the print package or the technical data sheet (PDF) — it contains everything they need.
A paid 3D printing service is commercial use and needs our commercial licence: pure@molgod.org. A school makerspace, library or university that prints free of charge does not need it.
Status: checked digitally and in the slicer; we have not printed it physically yet. Your print could be the first. Print settings, files and licence ↓
⚠️ The MolGod.org logo and name, including the raised logo on the base, are our trademark. Creative Commons licences do not cover trademarks (§ 2(b)(2)). Without our written permission you may not use the MolGod.org logo to brand your own products, in advertising or in a way that suggests our endorsement.


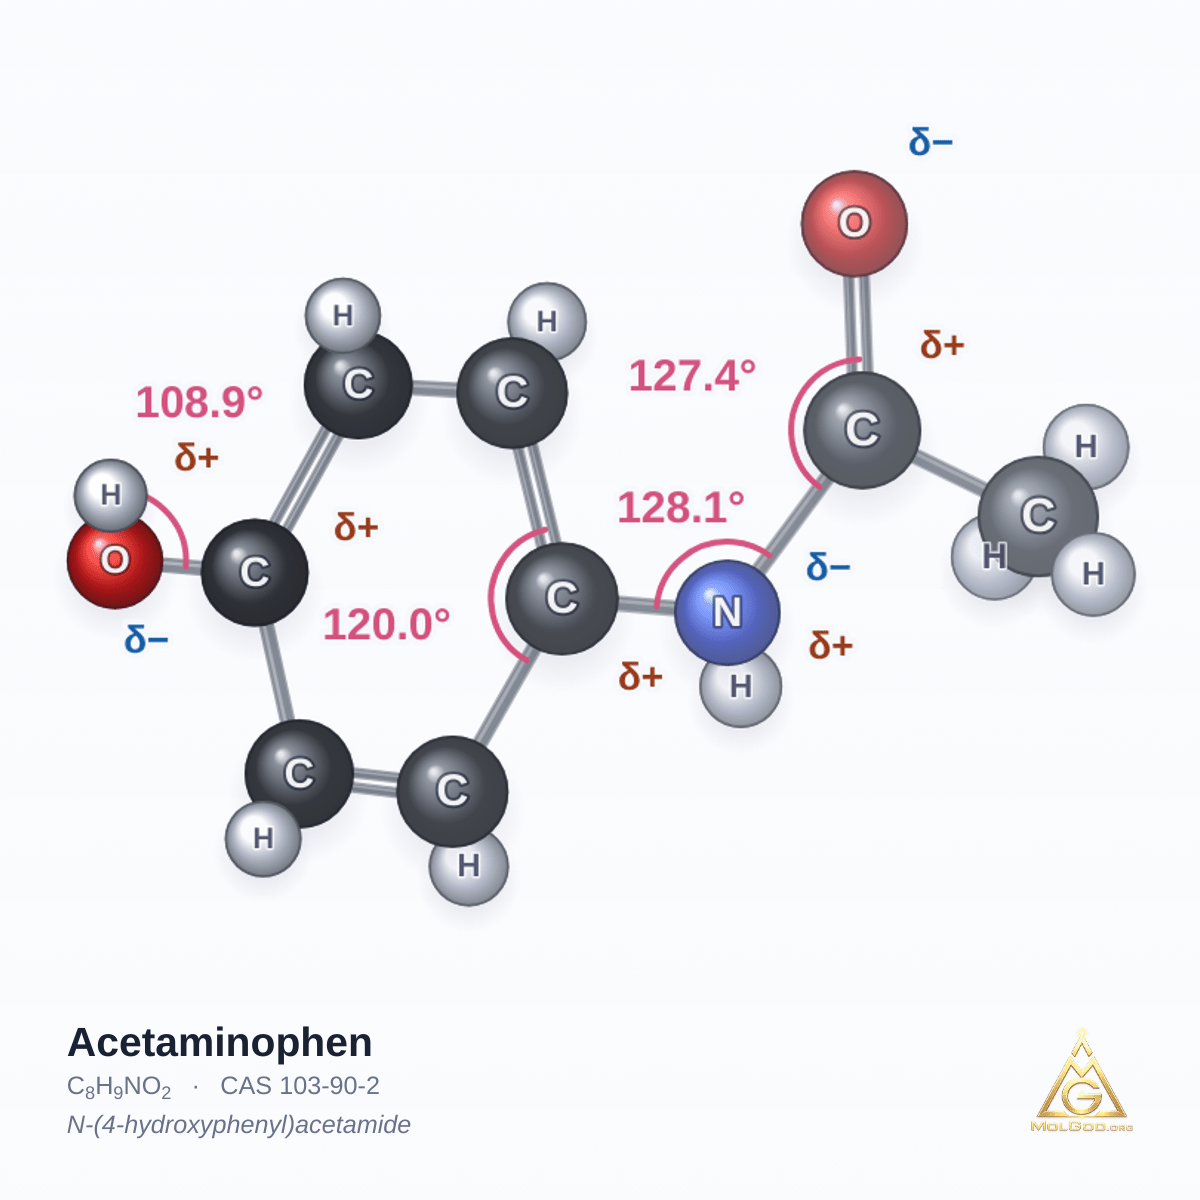
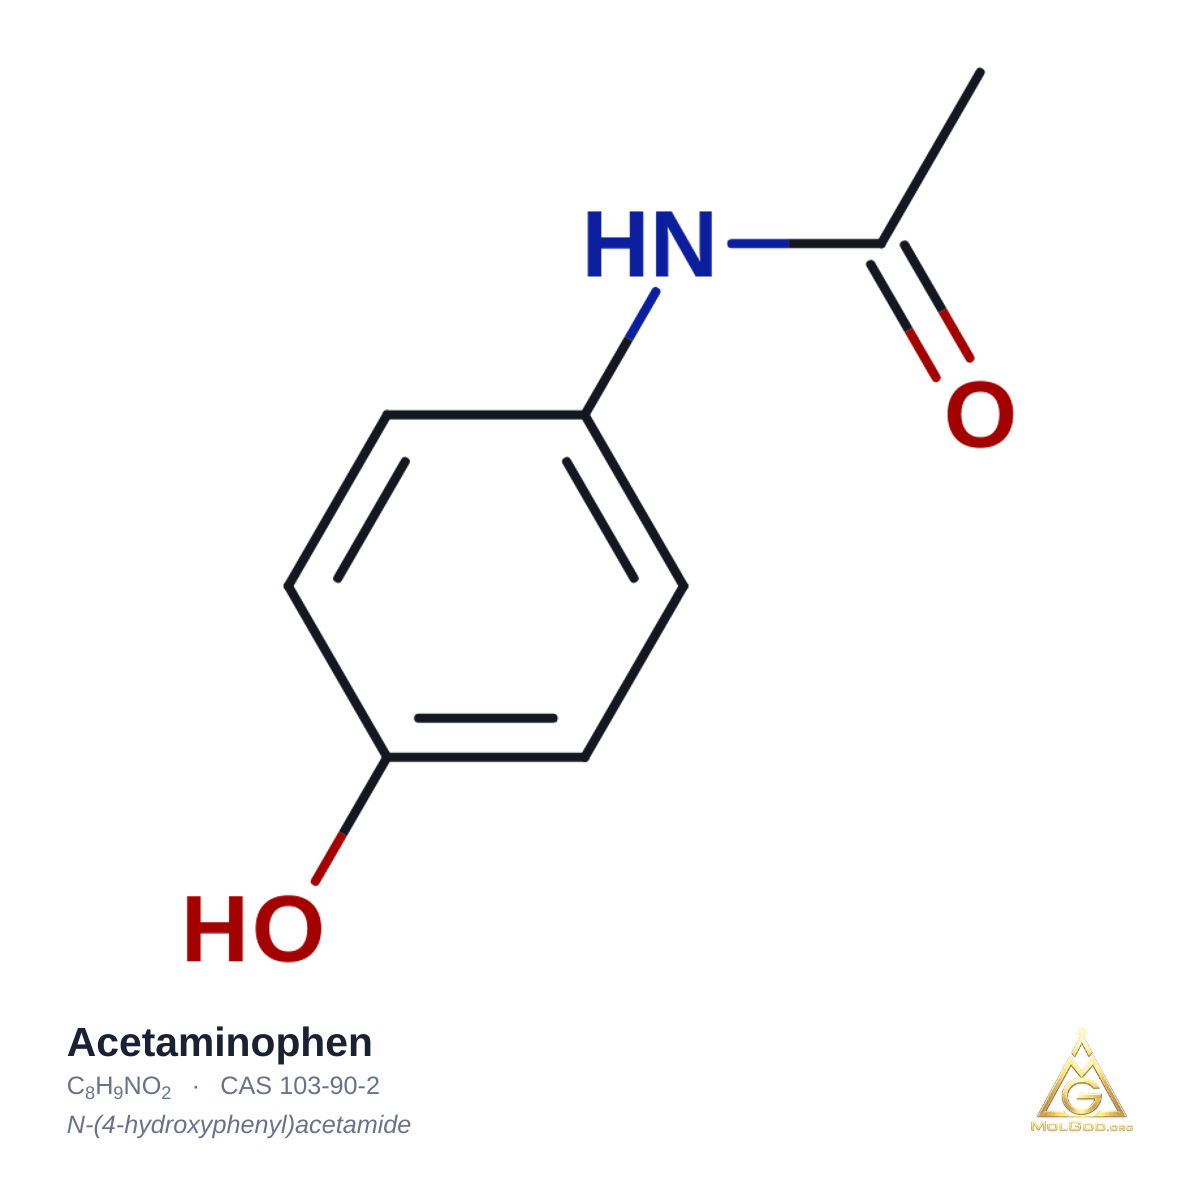
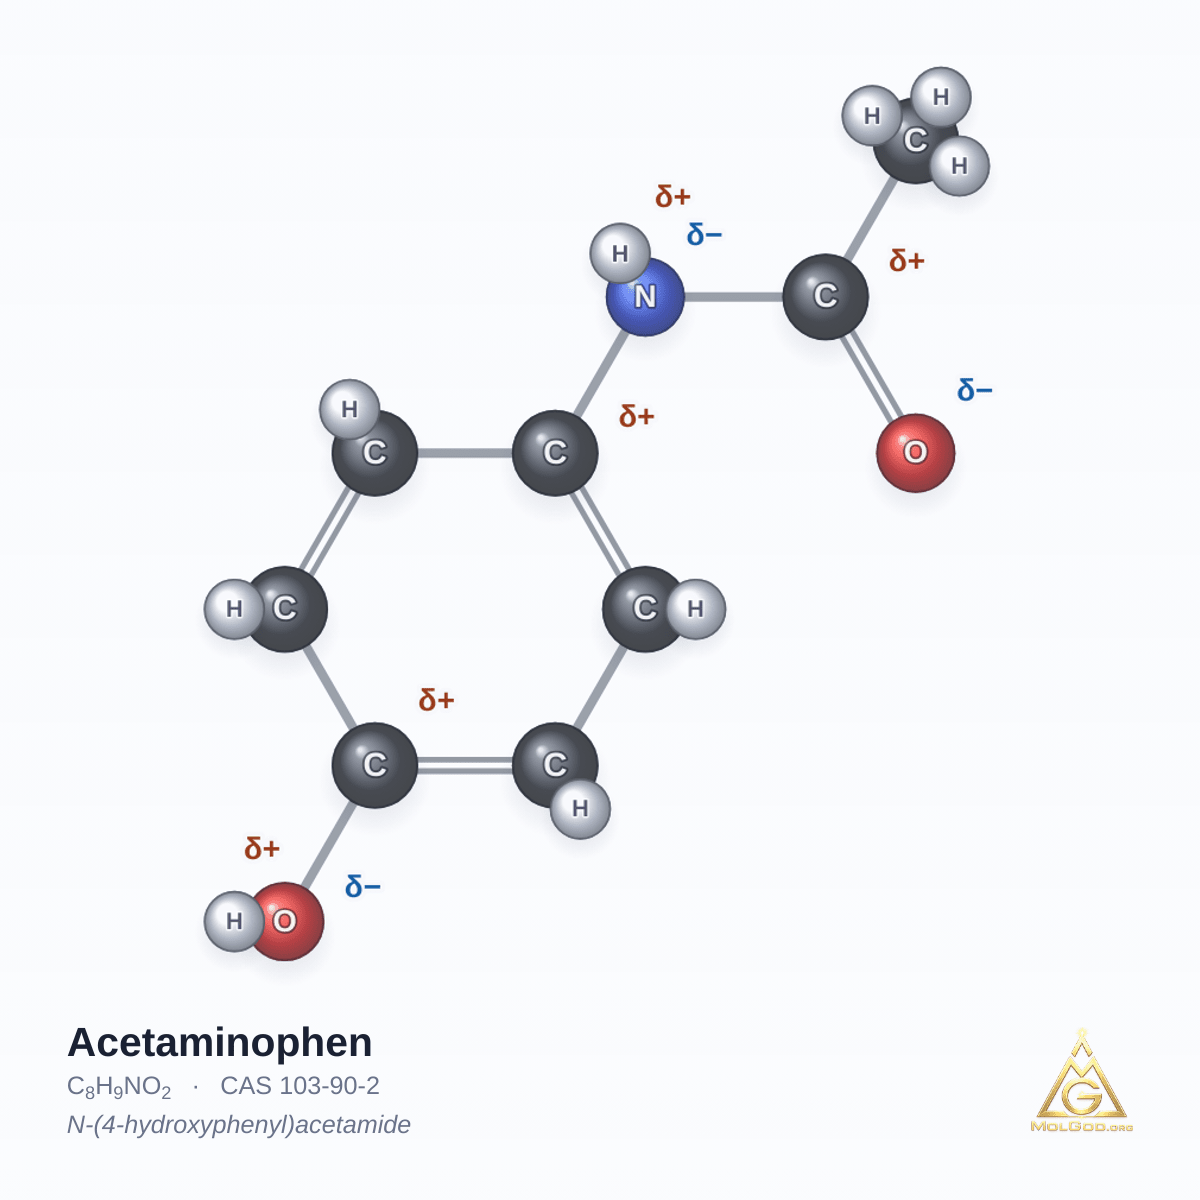

 require paid access.
